 Machi Photos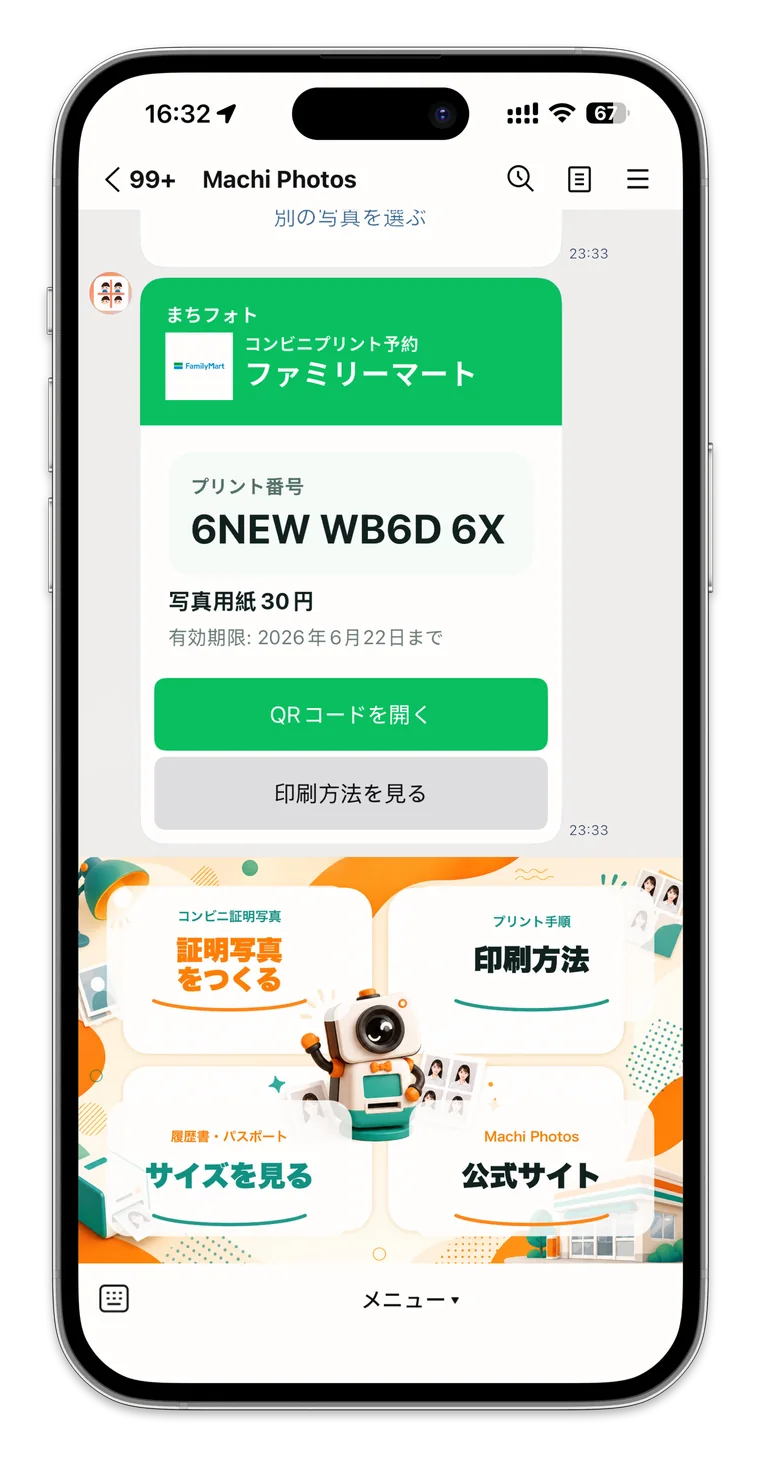
Japan में ID photo तैयार करने के लिए photo booth जरूरी नहीं है। Machi Photos में phone photo upload, size selection, background adjustment, L-size sheet और print reservation code browser में बनाया जा सकता है। Photo creation और code issue करना free है; store में L-size photo print fee देनी होती है।
1. सही ID photo size चुनें
Resume, passport, My Number Card, residence card, visa, driver license या qualification exam के हिसाब से size चुनें। Common sizes हैं resume के लिए 30×40mm, passport और My Number के लिए 35×45mm, और driver license के लिए 24×30mm।
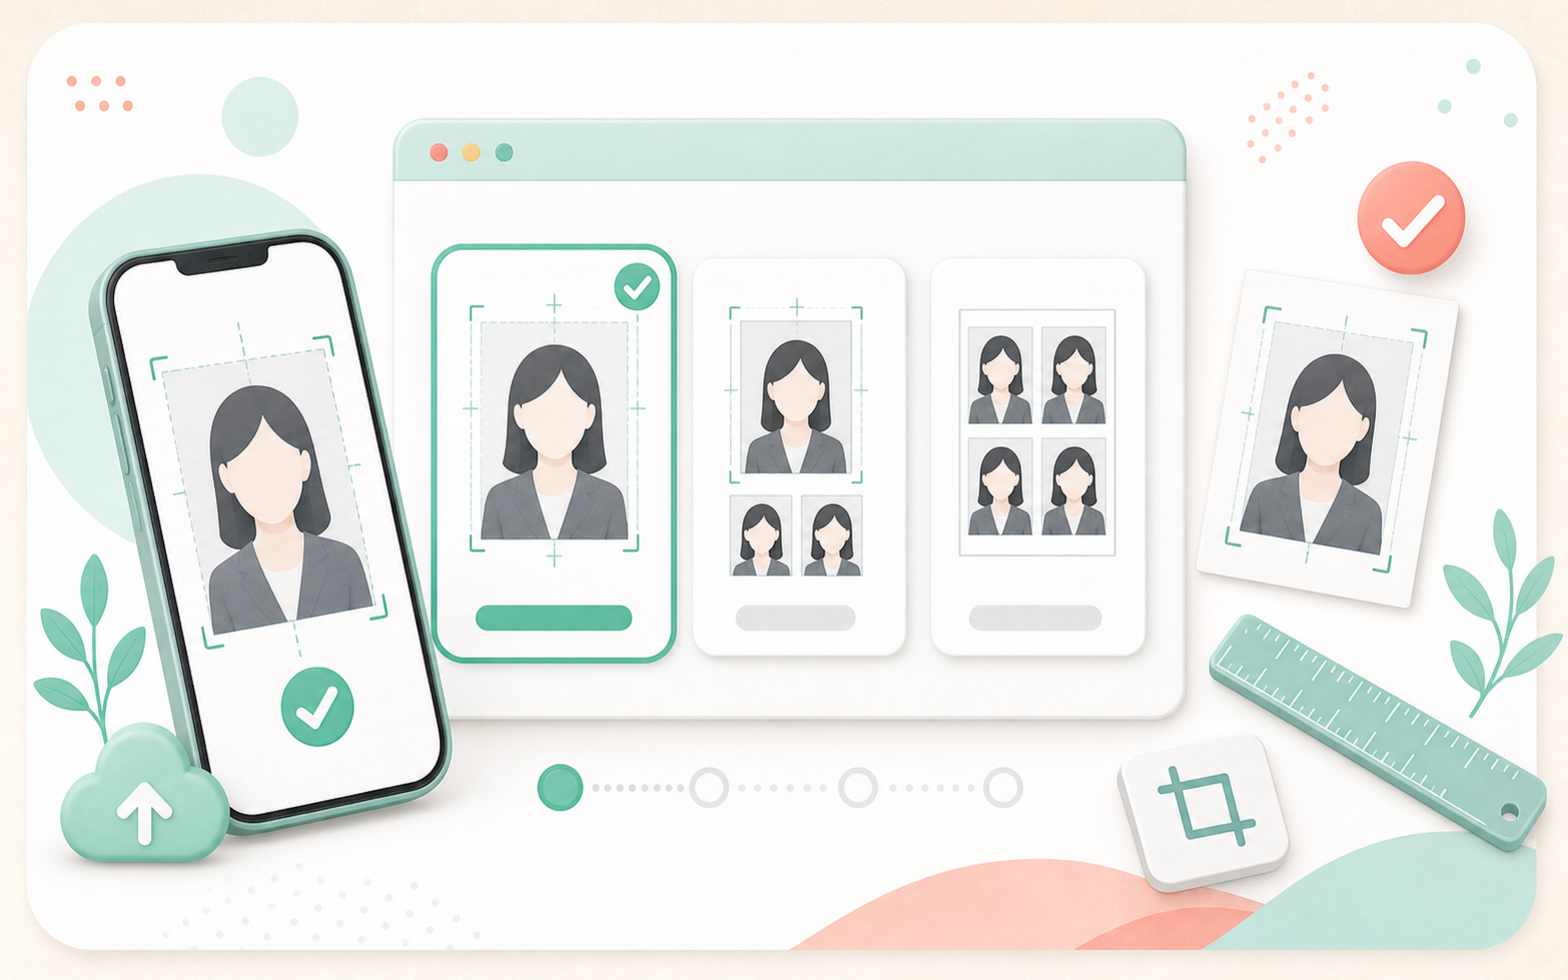
अगर destination ने width, height, background, shooting date, glasses या hat की condition दी है, तो वही follow करें। Exact preset न मिले तो custom size इस्तेमाल करें।
2. Phone photo upload करके face align करें
अच्छी light में ली गई front-facing photo चुनें। Face center, headroom और shoulders देखें। Background में shadow या furniture हो तो उसे white या plain color में बदला जा सकता है।
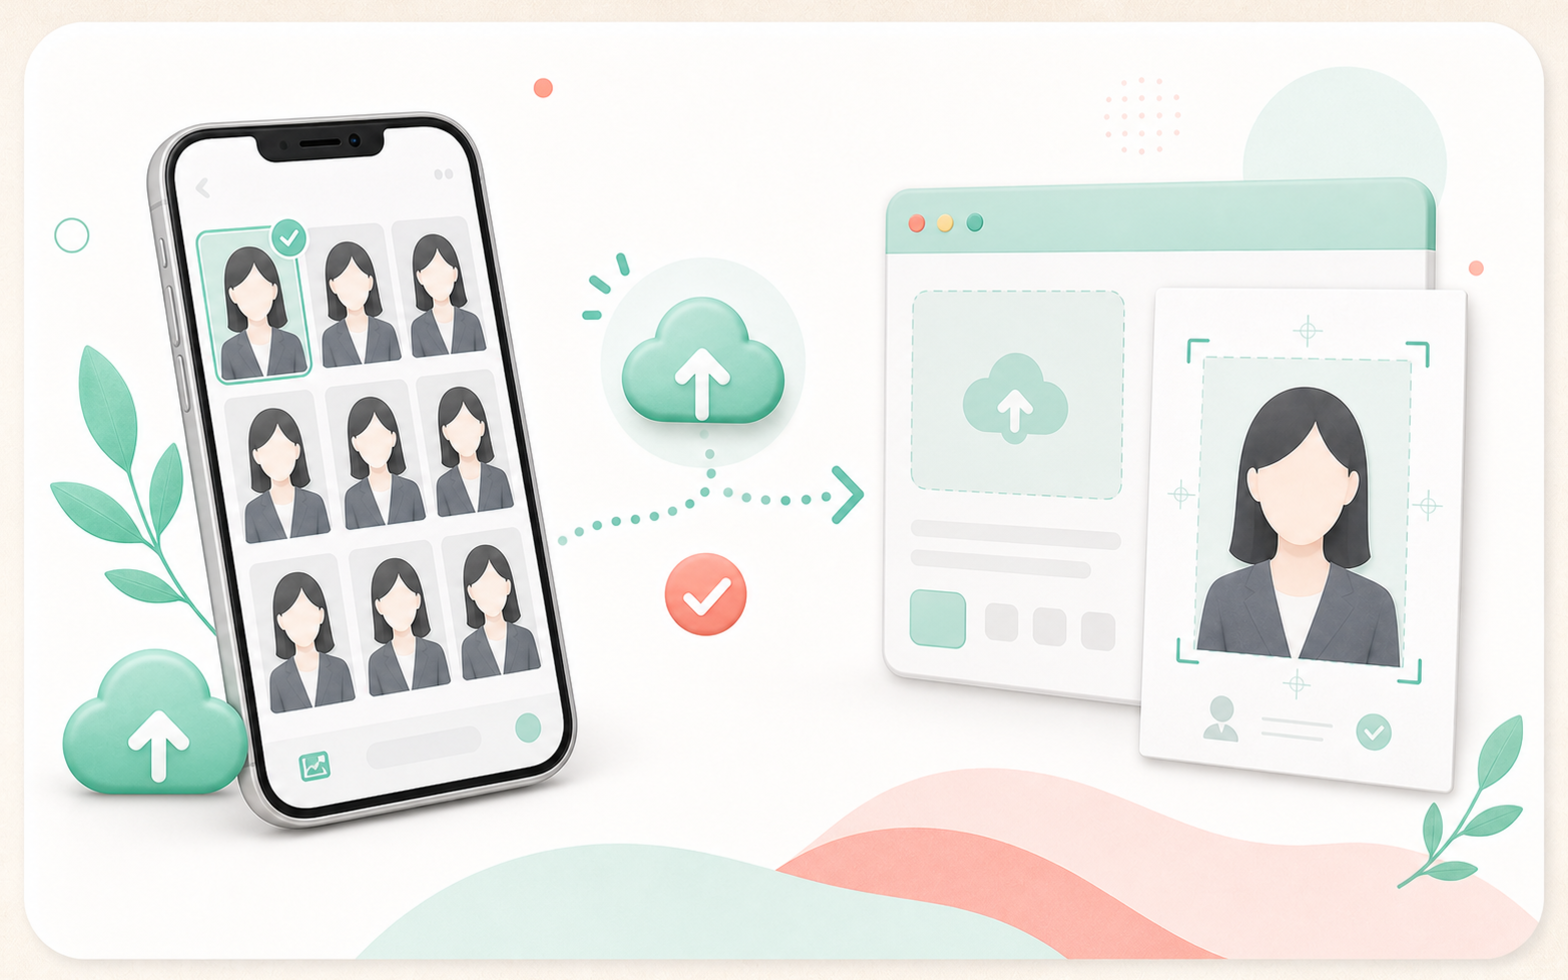
Resume और exam photo में face बहुत छोटा, head cut, tilted body या hair/glasses glare से eyes छिपना avoid करें।
3. L-size print sheet check करें
Editing के बाद Machi Photos convenience-store photo printing के लिए L-size sheet बनाता है। 30×40mm में 6 copies और 35×45mm में 4 copies arrange हो सकती हैं।
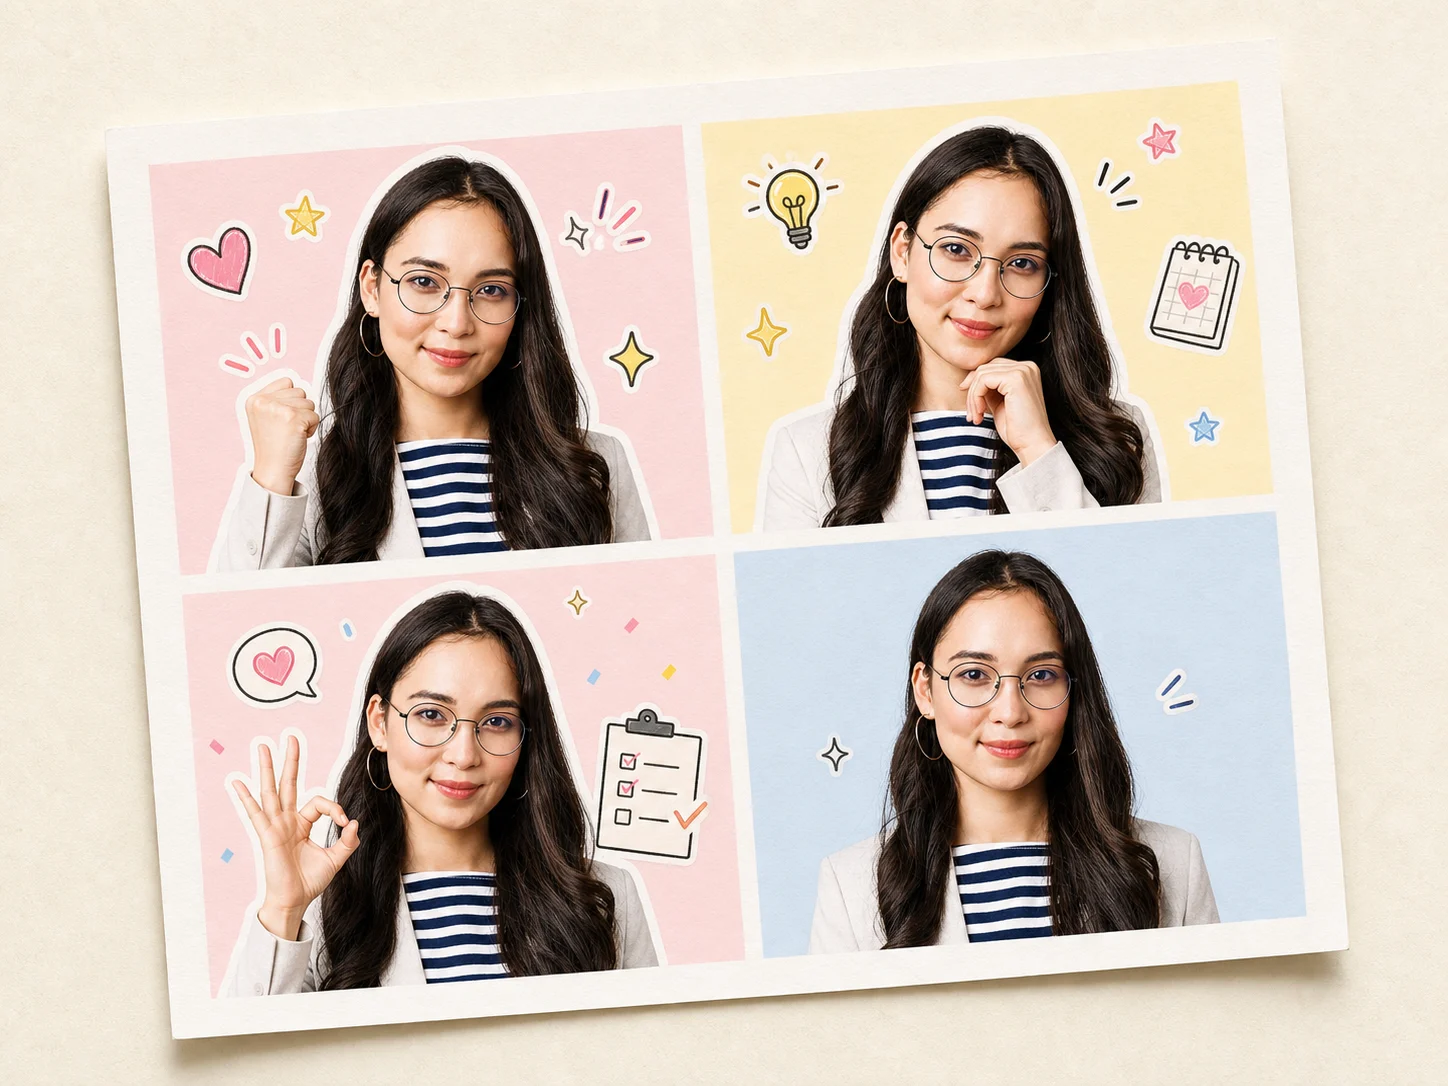
Print से पहले layout और cutting position देखें। Extra copies backup के रूप में काम आती हैं।
4. Convenience-store print code issue करें
Print step में supported stores के लिए reservation number या QR code issue करें। Machi Photos में store चुनें और displayed code को store copier में इस्तेमाल करें।
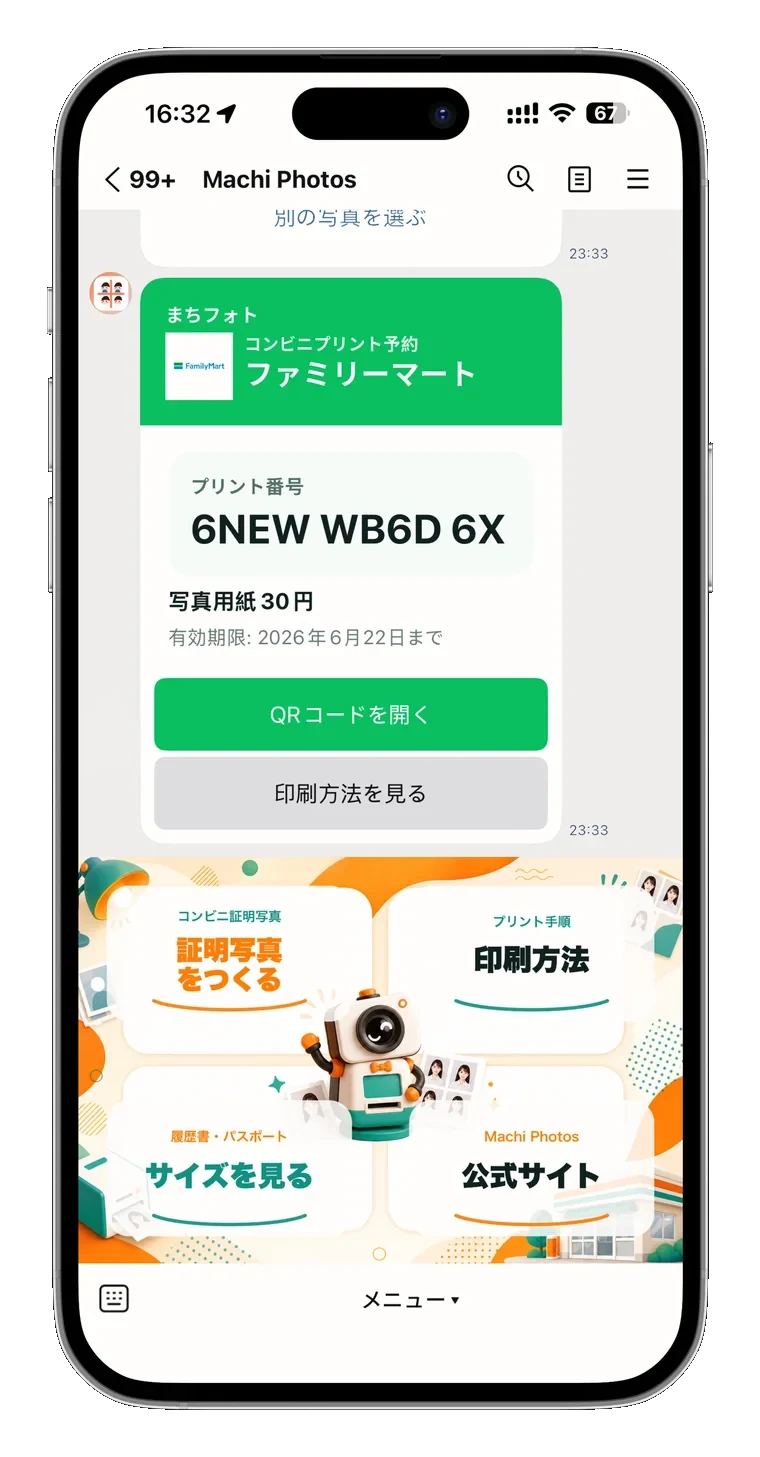
7-Eleven, Lawson और FamilyMart की screens अलग हो सकती हैं। Print से पहले L-size photo, copies और price confirm करें।
5. Store में L-size photo print करें
Copier पर photo print चुनें, reservation number डालें या QR scan करें, preview देखें, L-size paper और copies confirm करके print करें।
Print fee Machi Photos नहीं लेता; यह store copier की photo print fee है। Final amount machine screen पर देखें।
Convenience store में print करने के लिए ID photo चाहिए?
ID photo बनाएं